
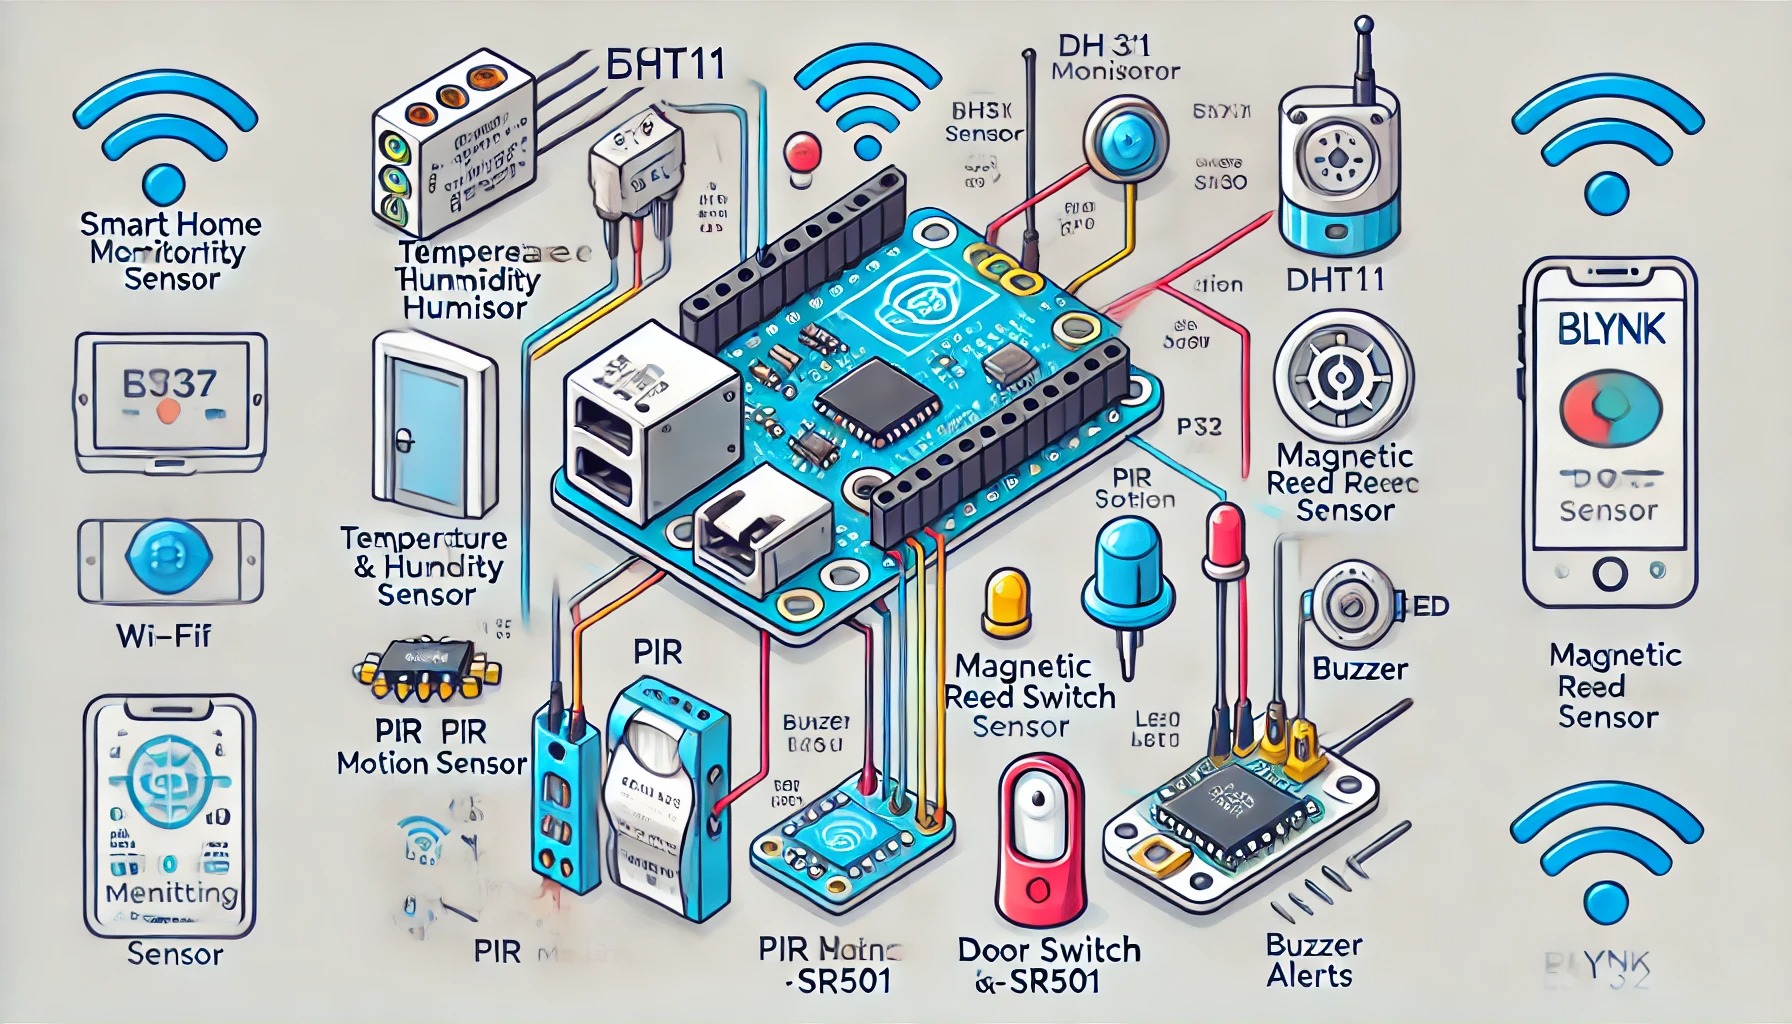

Smart Home Monitoring System using ESP32 and Blynk
1. Introduction
The Smart Home Monitoring System provides real-time environmental data and security alerts via Wi-Fi. The ESP32 collects data from sensors and sends it to the Blynk app for remote monitoring. Additionally, an alert is triggered if motion is detected when no one is home.
2. Learning Objectives
By the end of this project, you will:
- Understand IoT-based sensor integration using ESP32.
- Learn how to interface ESP32 with the Blynk app for real-time monitoring.
- Implement DHT11/DHT22 for temperature & humidity measurement.
- Use PIR sensors for motion detection.
- Integrate reed switches for door status monitoring.
- Utilize Blynk notifications for security alerts.
3. Tools & Components
Hardware:
- ESP32 Dev Board
- DHT11/DHT22 Sensor (Temperature & Humidity)
- PIR Motion Sensor (HC-SR501)
- Magnetic Reed Switch (Door sensor)
- LED & Buzzer (Security alarm)
- 10kΩ Resistor
- Jumper wires
- Breadboard or PCB
- 5V Power Supply or Li-ion Battery (18650)
Software:
- Arduino IDE (with ESP32 board support)
- Blynk App (iOS/Android)
- Blynk Library for ESP32
4. Circuit Breakdown
The ESP32 communicates with all sensors and sends data to Blynk via Wi-Fi. Here’s the detailed wiring:
- DHT11/DHT22 (Temperature & Humidity Sensor)
- VCC → 3.3V (ESP32)
- GND → GND (ESP32)
- DATA → GPIO 4 (ESP32)
- PIR Motion Sensor (HC-SR501)
- VCC → 5V (ESP32)
- GND → GND (ESP32)
- OUT → GPIO 27 (ESP32)
- Reed Switch (Door Sensor)
- One end → GND
- Other end → GPIO 5 (ESP32, Pulled HIGH via 10kΩ resistor)
- Buzzer & LED (Security Alert)
- Buzzer → GPIO 19
- LED → GPIO 21
- Both share common GND
5. Code Implementation
#define BLYNK_PRINT Serial
#include <WiFi.h>
#include <BlynkSimpleEsp32.h>
#include <DHT.h>

// Blynk Authentication
char auth[] = "Your_Blynk_Auth_Token";
char ssid[] = "Your_SSID";
char pass[] = "Your_WIFI_Password";

// Sensor Pins
#define DHTPIN 4
#define DHTTYPE DHT11
#define PIRPIN 27
#define DOORPIN 5
#define BUZZER 19
#define LED 21

DHT dht(DHTPIN, DHTTYPE);
BlynkTimer timer;

void sendSensorData() {
    float temp = dht.readTemperature();
    float hum = dht.readHumidity();

    Blynk.virtualWrite(V1, temp);
    Blynk.virtualWrite(V2, hum);

    if (digitalRead(PIRPIN) == HIGH) {
        Blynk.notify("⚠️ Motion Detected!");
        digitalWrite(BUZZER, HIGH);
        digitalWrite(LED, HIGH);
        delay(2000);
        digitalWrite(BUZZER, LOW);
        digitalWrite(LED, LOW);
    }

    if (digitalRead(DOORPIN) == LOW) {
        Blynk.notify("🚪 Door Opened!");
    }
}

void setup() {
    Serial.begin(115200);
    Blynk.begin(auth, ssid, pass);

    pinMode(PIRPIN, INPUT);
    pinMode(DOORPIN, INPUT_PULLUP);
    pinMode(BUZZER, OUTPUT);
    pinMode(LED, OUTPUT);

    dht.begin();
    timer.setInterval(2000L, sendSensorData);
}

void loop() {
    Blynk.run();
    timer.run();
}
6. Testing & Debugging
Common Issues & Solutions
- No data in Blynk app? Check if the correct authentication token is used.
- ESP32 not connecting to Wi-Fi? Ensure the SSID and password are correct.
- PIR sensor not detecting motion? Adjust the potentiometer on the PIR module.
- False door open alerts? Make sure the magnet is close enough to the reed switch.
- Buzzer or LED not working? Verify wiring and GPIO assignments.
7. Extensions & Improvements
- Add a relay module to control home appliances.
- Integrate an OLED display to show local sensor readings.
- Use MQTT instead of Blynk for a fully customized IoT dashboard.
- Connect to Google Firebase for cloud-based logging and visualization.
This Smart Home Monitoring System is a great way to learn IoT, ESP32, and remote sensing while creating a useful real-world project. Let me know if you need modifications or enhancements! 🚀