
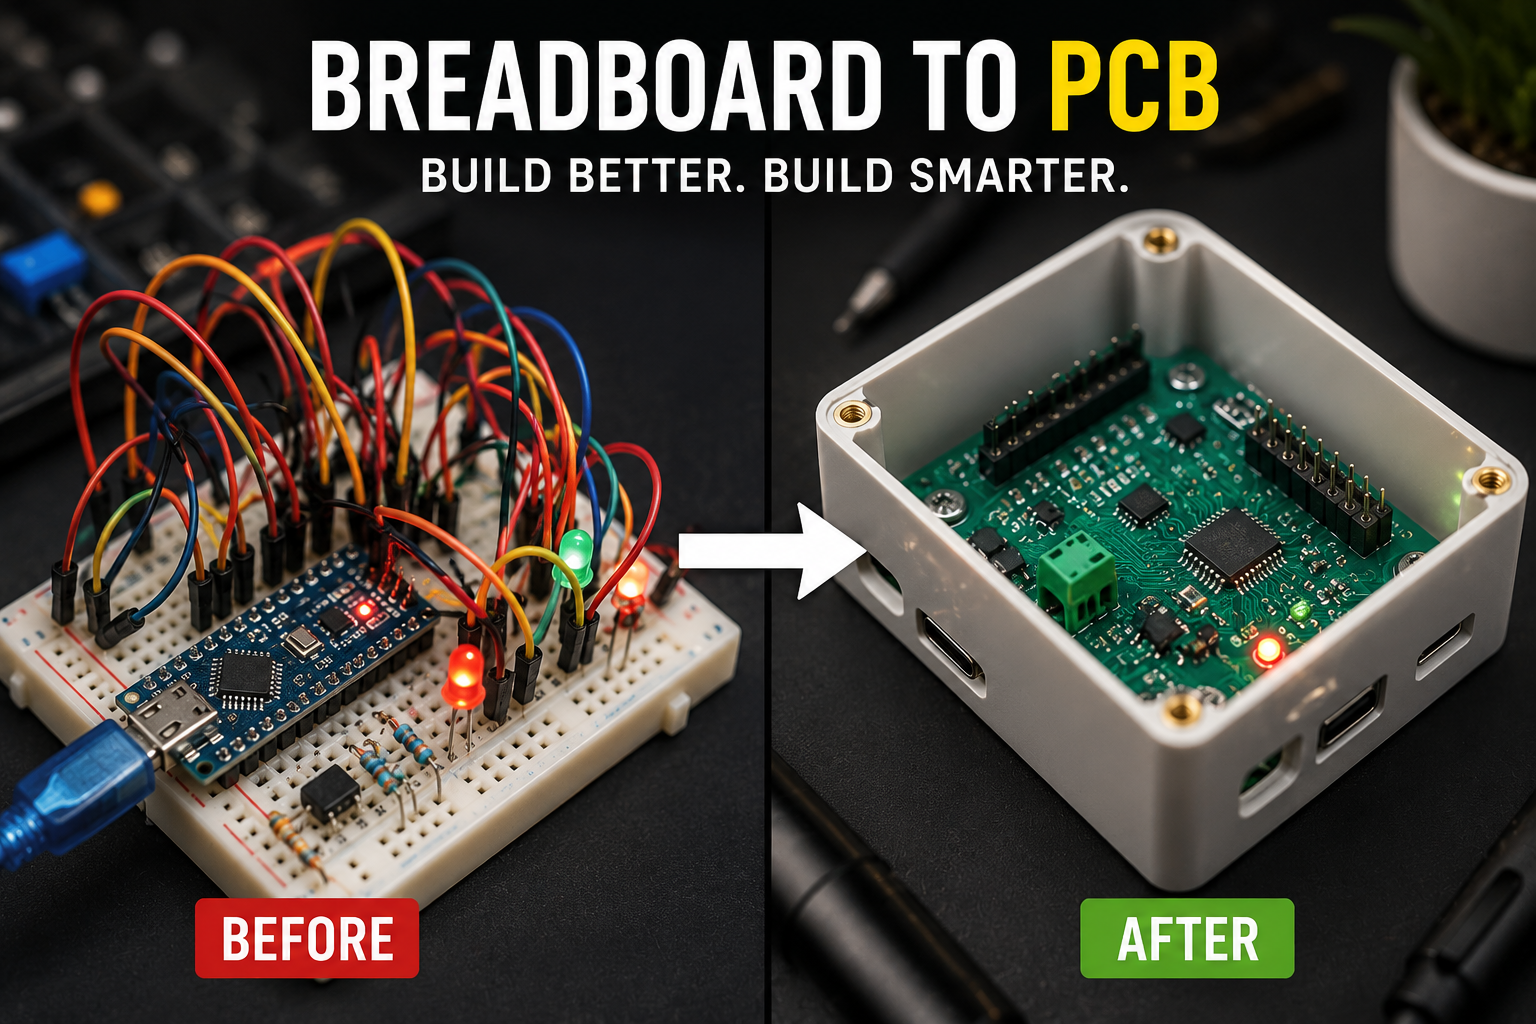
Every electronics enthusiast starts the same way—with a breadboard full of jumper wires, loose components, and plenty of trial and error. Breadboards are perfect for testing ideas, but they rarely survive beyond the prototype stage. Loose connections, tangled wiring, and bulky layouts quickly become frustrating, especially as projects grow more complex.
The next step in every maker’s journey is learning how to design printed circuit boards (PCBs), improve soldering skills, and package projects inside professional-looking enclosures. These skills don’t just make projects look better—they improve reliability, simplify debugging, and create hardware that is ready for demonstrations, competitions, or even commercial products.
Whether you’re building an Arduino project, a Raspberry Pi system, or a custom embedded device, moving from a breadboard to a finished PCB is one of the biggest milestones in electronics.

Why Breadboards Are Only the Beginning
Breadboards remain one of the best learning tools for electronics because they allow rapid experimentation without permanent connections. Developers can swap components in seconds, modify circuits, and troubleshoot ideas before committing to a final design.
However, every maker eventually discovers their limitations. Jumper wires can become tangled, accidental disconnections are common, and larger projects become difficult to organize. Long wire runs may even introduce unwanted electrical noise, making circuits less reliable.
This stage is not a failure—it’s a sign that a project has outgrown its prototype. Once a design becomes stable, creating a dedicated PCB is the logical next step toward a cleaner, more dependable solution.
The Transformation from Prototype to Professional Hardware
Stage 1: Building the First Prototype
Nearly every successful hardware project begins with a simple prototype. Developers test sensors, verify component values, experiment with microcontrollers, and refine software before thinking about manufacturing.
At this stage, flexibility matters more than appearance.
Stage 2: Designing a Custom PCB
Once the circuit works consistently, it’s time to replace the web of jumper wires with a purpose-built printed circuit board.
PCB design offers several advantages:
- Smaller and cleaner layouts
- Improved electrical reliability
- Easier assembly
- Better troubleshooting
- Repeatable manufacturing
- Professional presentation
Modern PCB software also allows engineers to simulate circuits, verify connections, and prepare manufacturing files with remarkable accuracy.
Stage 3: Assembling the Board
A well-designed PCB still depends on good assembly techniques. Proper soldering ensures reliable electrical connections and reduces the likelihood of future failures.
Learning to solder correctly includes understanding temperature control, choosing the right solder, preventing bridges, and inspecting joints for quality. These practical skills often make the difference between a project that works once and one that lasts for years.
Stage 4: Adding a Custom Enclosure
A finished PCB deserves proper protection. Custom enclosures not only improve appearance but also shield electronics from dust, accidental damage, and environmental exposure.
Modern CAD tools make it possible to design enclosures that perfectly match a PCB, including mounting points, ventilation, connectors, and button openings. Combined with affordable 3D printing, makers can now produce professional-looking hardware without expensive manufacturing equipment.
Essential Skills Every Hardware Maker Should Learn
Building professional electronics requires more than programming a microcontroller. A complete hardware workflow combines several complementary skills.
PCB Design
Understanding schematic capture, component placement, routing, multilayer boards, and manufacturing preparation forms the foundation of modern hardware development.
Electronic Components
Knowing how resistors, capacitors, regulators, sensors, connectors, and integrated circuits interact helps create stable, efficient designs.
Professional Soldering
Good soldering improves durability, simplifies maintenance, and reduces electrical problems caused by poor connections.
Mechanical Design
Designing custom enclosures allows electronics to become complete products rather than exposed circuit boards.
Collaboration Tools
Modern hardware teams increasingly rely on collaborative design environments, shared component libraries, version control, and cloud-based review workflows to accelerate development and reduce costly mistakes.
Common Mistakes That Slow Down Hardware Projects
Many beginners encounter similar challenges as they move beyond breadboards.
Some of the most common include:
- Designing PCBs before fully testing prototypes
- Ignoring component footprints
- Poor connector placement
- Inadequate power routing
- Weak solder joints
- Forgetting mounting holes
- Skipping design rule checks
- Neglecting thermal management
- Building enclosures before confirming PCB dimensions
Recognizing these pitfalls early helps reduce redesigns and speeds up the path from prototype to finished hardware.
How Modern Design Software Makes Hardware Easier
Today’s PCB design software has transformed the electronics workflow. Engineers can move seamlessly from schematic capture to PCB layout, simulation, and manufacturing output within a single environment.
Many platforms also integrate mechanical design, allowing PCBs and enclosures to be developed together. This reduces alignment issues and helps ensure that connectors, buttons, and mounting holes fit correctly before fabrication begins.
Collaboration features further simplify teamwork by enabling designers to review changes, manage component libraries, and maintain consistent project documentation.
A Practical Learning Roadmap
For students who want to build complete hardware projects, learning skills in the right order makes the journey much smoother.
Start by understanding electronic components and assembling simple breadboard circuits. Next, develop confidence with soldering and basic troubleshooting. Once prototypes become reliable, move into PCB design and fabrication, learning how to create manufacturable layouts and prepare production files. Finally, explore mechanical CAD to design custom enclosures that transform functional circuits into polished, professional products.
This progression mirrors the workflow used by engineers in industry and provides a strong foundation for increasingly advanced hardware projects.
Frequently Asked Questions
When should I move from a breadboard to a PCB?
Once your circuit works reliably and major design changes are complete, creating a PCB improves reliability, simplifies assembly, and gives the project a professional finish.
Do I need expensive software to design PCBs?
No. Several beginner-friendly and professional tools are available, offering everything from basic layouts to advanced multi-layer board design.
Why is soldering important if I can use a breadboard?
Breadboards are ideal for experimentation, but soldered connections are far more durable and suitable for long-term use or deployment.
Can I build my own Arduino-compatible board?
Yes. Designing a custom board based on popular microcontrollers is an excellent way to learn PCB design, power management, and component selection.
Is a custom enclosure really necessary?
While not essential for every prototype, an enclosure protects electronics, improves usability, and gives projects a polished, finished appearance.
What should I learn first: PCB design or soldering?
Both complement each other, but understanding basic circuits and soldering before moving into PCB design often makes the learning process easier.
Conclusion
The journey from a tangled breadboard prototype to a professionally assembled PCB represents one of the most rewarding milestones in electronics. Along the way, makers gain valuable skills in circuit design, PCB layout, soldering, mechanical design, and collaborative engineering workflows. These abilities not only improve the quality of personal projects but also prepare learners for real-world hardware development, where reliability, manufacturability, and thoughtful design are just as important as innovation itself.