
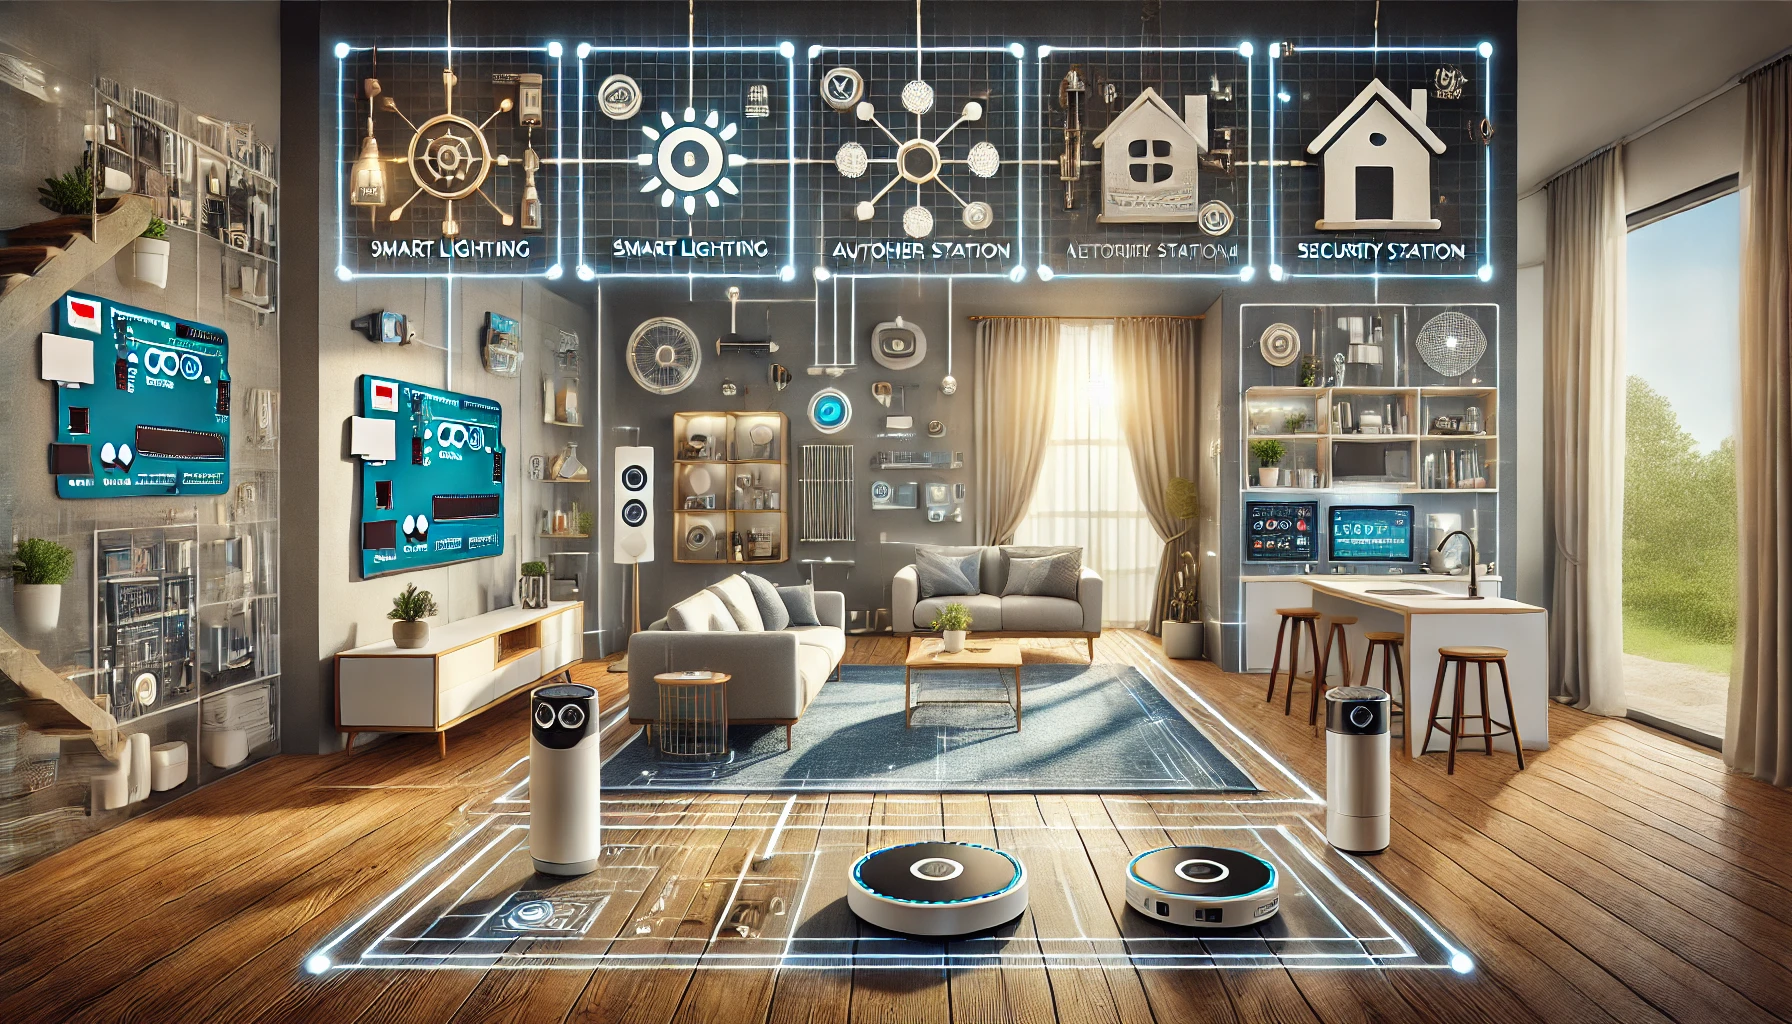

Transform Your Home with Arduino: 7 DIY Projects
Imagine transforming your home into a smart haven where lights adjust automatically, curtains open with the sunrise, and your garden waters itself—all with the help of a tiny, affordable device called Arduino. Arduino is a powerful microcontroller that has taken the DIY world by storm. It’s the heart of countless innovative projects, especially in the realm of home automation. With Arduino, you can turn ordinary household items into smart devices, giving you more control, convenience, and efficiency.
DIY projects are not just about saving money; they’re about unlocking creativity and personalizing your living space to fit your needs. Building your own smart home solutions with Arduino can be incredibly rewarding. It empowers you to learn new skills, solve real-world problems, and tailor your home environment in ways that commercial products might not allow. Whether you’re a tech-savvy homeowner or a curious student, delving into the world of Arduino home automation could be your gateway to a smarter, more connected home. Ready to take on the challenge? Let’s explore seven exciting DIY projects that will inspire you to get started.
What is Arduino?
Arduino is a powerful open-source electronics platform that provides users with the tools to create interactive projects through simple hardware and software. At its core, Arduino consists of a microcontroller board and an integrated development environment (IDE) for writing and uploading code to the hardware. The beauty of Arduino lies in its accessibility; it caters to both beginners and experienced tech enthusiasts, allowing them to bring their innovative ideas to life. With a wide range of sensors, modules, and shields available, the possibilities for creating custom Arduino projects are virtually limitless.
One of the most appealing aspects of using Arduino for home automation is its flexibility and affordability. Unlike proprietary smart home systems, Arduino allows users to tailor solutions specifically to their needs without breaking the bank. Whether you’re looking to automate lighting, security systems, or even your garden irrigation, Arduino offers a cost-effective way to achieve these goals. Moreover, as an open-source platform, Arduino benefits from a vast community of developers who continuously contribute new ideas, tutorials, and support—making it easier for newcomers to dive into Arduino home automation projects.
Beyond cost savings, Arduino projects can significantly enhance the functionality and convenience of your home. Imagine being able to control your blinds with a simple voice command or receiving alerts on your smartphone when unusual motion is detected around your property. These are just a few examples of how Arduino can transform everyday living spaces into intelligent environments that respond to your needs. Furthermore, working on Arduino projects fosters creativity and problem-solving skills, providing a hands-on learning experience that can be both fulfilling and practical. As you embark on your journey into Arduino home automation, you will not only upgrade your living space but also build invaluable DIY skills that can be applied to future projects.
Setting Up Your Arduino for Home Automation
Embarking on your journey with Arduino and home automation begins with gathering the right tools and materials to bring your innovative ideas to life. At the core of your toolkit is the Arduino board, which serves as the brain of your projects. The most popular choice for beginners is the Arduino Uno due to its versatility and user-friendly nature. Additionally, you’ll need a USB cable to connect your board to a computer, a breadboard for prototyping circuits, jumper wires, and various electronic components like resistors, LEDs, and sensors depending on your project’s requirements. A basic multimeter can also be helpful for troubleshooting circuits and ensuring connections are sound.
Once you have your tools ready, it’s time to dive into the world of Arduino programming. Start by downloading the Arduino Integrated Development Environment (IDE) from the official Arduino website. This software is crucial as it allows you to write and upload code to your Arduino board. Familiarize yourself with the IDE interface, which includes a text editor for writing code and a message area to display feedback. Begin with simple sketches—Arduino’s term for programs—such as blinking an LED, which will help you grasp the fundamentals of coding in C/C++. Online resources and tutorials abound, offering step-by-step guidance and sample codes to practice with.
As you grow more comfortable with Arduino programming, consider integrating home automation ideas into your projects. Experiment with using sensors to gather environmental data or actuators to control devices around your home. For instance, you could start by automating your home’s lighting system by connecting light sensors to your Arduino board, allowing lights to adjust based on natural light levels. This hands-on approach not only enhances your technical skills but also provides practical insights into creating a more efficient and responsive living environment. Remember, patience and persistence are key as you troubleshoot issues and refine your projects. With each success, you’ll gain confidence in transforming your home into a smart haven tailored to your needs.
Project 1: Smart Lighting Control
Automating your home lighting system with Arduino is a fantastic way to dip your toes into the world of smart home automation. With just a few components like an Arduino board, some relays, and a bit of programming knowledge, you can transform your ordinary light bulbs into intelligent, responsive fixtures. This project allows you to control your lights remotely via a smartphone app or set them to turn on and off at specific times, creating an ambiance that suits your mood and lifestyle. Moreover, by using motion sensors, you can ensure lights are only in use when needed, adding an extra layer of convenience to your daily routine.
The benefits of such a setup extend beyond mere convenience. Energy efficiency is a significant advantage of automated lighting systems. By having precise control over when and how your lights operate, you reduce unnecessary electricity usage, ultimately lowering your utility bills. For example, you can program your lights to turn off automatically when no one is in the room or dim during daylight hours. This not only helps in conserving energy but also contributes to a more sustainable environment. Imagine walking into a room, and the lights greet you with the perfect brightness—effortlessly enhancing your living space’s comfort and efficiency.
Integrating voice assistants like Amazon Alexa or Google Assistant with your Arduino-based lighting system elevates the smart home experience to new heights. Voice commands offer hands-free control, allowing you to adjust your lighting without lifting a finger. To achieve this, you’ll need to connect your Arduino project to platforms like IFTTT (If This Then That) or use compatible smart hubs that can bridge the gap between Arduino and these voice platforms. This integration not only makes managing your home lighting system easier but also ties into broader smart home security measures by simulating occupancy when you’re away from home, deterring potential intruders.
In conclusion, creating a smart lighting control system with Arduino combines creativity with practicality. It enhances energy efficiency, provides convenient control options, and seamlessly integrates with existing smart home technologies. As you embark on this project, remember that starting small can lead to significant improvements in your DIY skills and overall home experience.
Project 2: Temperature and Humidity Monitoring
Creating a weather station using Arduino is a rewarding project that not only enhances your home’s comfort but also boosts energy efficiency. By integrating temperature and humidity sensors with your Arduino setup, you can gather real-time data about the indoor and outdoor climate conditions. This information is crucial for maintaining an optimal environment inside your home, ensuring comfort during extreme weather while also helping to manage heating and cooling systems more efficiently. For instance, by knowing when humidity levels are high, you can prevent mold growth and improve air quality.
Understanding the data collected from your Arduino-based weather station can lead to smarter home management decisions. For example, you can adjust your HVAC system settings based on temperature trends or use a dehumidifier more effectively when moisture levels peak. This proactive approach not only maintains a pleasant living environment but also contributes to energy savings by reducing unnecessary usage of heating and cooling appliances. Additionally, analyzing this data over time can reveal patterns that help you anticipate future needs, allowing for better planning and resource management.
One of the most practical features of this project is setting up alerts for extreme temperature or humidity conditions. By programming your Arduino to send notifications when certain thresholds are reached, you can take immediate action to protect your home and its inhabitants. For instance, if temperatures drop unexpectedly, you might receive an alert to check your home’s insulation or ensure pipes do not freeze. Similarly, high humidity alerts can prompt you to ventilate spaces prone to dampness. These automated warnings not only safeguard your home but also enhance peace of mind, knowing that you’re well-prepared to address any sudden changes in the environment.
Project 3: Automated Blinds and Curtains
Imagine waking up to the soft glow of morning light streaming through your window as your blinds gently rise, all without having to lift a finger. With Arduino home automation, this dream can easily become a reality. By using simple Arduino components such as servos or stepper motors, you can transform your regular window coverings into smart, remote-controlled devices. Start by connecting these motors to your blinds or curtains and integrate them with an Arduino board. Programming the board to respond to commands from your smartphone or a dedicated remote will allow you to control your window coverings from anywhere in the house.
Automating your blinds and curtains goes beyond convenience; it significantly enhances privacy and contributes to energy savings. During peak sunlight hours, programmed blinds can automatically close to prevent excess heat from entering your home, reducing the need for air conditioning. Conversely, they can open during cooler periods to let natural warmth and light in, optimizing your home’s energy efficiency. The ability to remotely control window coverings also adds an extra layer of privacy, allowing you to adjust them even when you’re not at home, ensuring that prying eyes are kept at bay.
To take full advantage of this project, consider implementing scheduling and automation features. You can program your blinds to follow a daily routine, opening at sunrise and closing at sunset, or adjust them based on the weather conditions collected from your Arduino-based weather station. Integrating IoT devices with voice assistants like Amazon Alexa or Google Assistant further enhances usability, enabling hands-free operation through simple voice commands. This not only adds a layer of modern sophistication to your home but also ensures that you have complete control over the ambiance and security of your living space at all times.
Project 4: Security System with Motion Detection
Building a basic security system using Arduino can be an excellent way to enhance the safety of your home without breaking the bank. By leveraging Arduino’s versatile platform, you can create a motion detection system that alerts you whenever movement is detected in specific areas of your home. Start by assembling essential components such as a PIR (Passive Infrared) sensor, which detects changes in infrared radiation, and an Arduino board to process these signals. By connecting these components, you can program your system to trigger alarms or notifications, providing a reliable first line of defense against potential intruders.
To take your security system to the next level, consider integrating cameras and alarms for enhanced safety. Incorporating a camera module with your Arduino setup allows you to capture images or videos when motion is detected, giving you visual evidence of any unexpected activity. Additionally, pairing your system with a loud alarm can deter intruders and alert neighbors, enhancing the overall effectiveness of your security measures. For those interested in more advanced home automation tips, explore ways to link your security system with smart doorbells or external floodlights to further fortify your home’s perimeter.
Remote monitoring options offer unparalleled peace of mind for tech-savvy homeowners. By connecting your Arduino-based security system to the internet, you can receive real-time notifications on your smartphone or computer whenever motion is detected. This feature is particularly useful if you travel frequently or spend long hours away from home. To achieve this, consider using platforms like Blynk or Cayenne, which provide user-friendly interfaces for remote access and control of your Arduino projects. These tools allow you to monitor your home’s security status from anywhere in the world, ensuring that you’re always in the loop about what’s happening at home.
Incorporating an Arduino-based security system into your home not only enhances safety but also offers a rewarding DIY experience. As you build and refine your setup, you’ll gain valuable skills in electronics and programming, empowering you to tackle more complex home automation projects in the future. Remember to start with the basics and gradually expand your system according to your needs and expertise. With creativity and persistence, you’ll transform your home into a secure and smart haven tailored to your unique lifestyle.
Project 5: Smart Irrigation System
Imagine a garden that waters itself, ensuring that your plants receive the perfect amount of hydration without you lifting a finger. With Arduino home automation, creating a smart irrigation system is within your reach. By automating your garden watering schedule, you can maintain lush landscapes while conserving water—a precious resource. This project not only simplifies garden maintenance but also fosters an eco-friendly approach to outdoor care.
The benefits of a smart irrigation system extend beyond convenience. Consistent and adequate watering is crucial for plant health, as it helps in preventing issues like root rot or dehydration. By using an Arduino-controlled system, you can set precise watering times and durations tailored to the specific needs of different plant types. This targeted approach ensures that each plant thrives, ultimately enhancing the overall vitality of your garden. Additionally, by optimizing water usage, you contribute to significant water conservation efforts, reducing your environmental footprint and lowering utility bills.
To create a truly intelligent irrigation system, incorporating sensors is key. Moisture sensors can be strategically placed throughout your garden to gather real-time data on soil conditions. This information allows your Arduino setup to make informed decisions about when and how much to water, based on actual needs rather than a fixed schedule. Arduino tutorials offer step-by-step guidance on integrating these sensors with your system, enabling you to respond dynamically to changing environmental conditions. For instance, if rain is detected, the system can automatically delay its watering cycle, ensuring no water goes to waste.
Whether you’re an experienced DIY enthusiast or a newcomer to Arduino home automation, building a smart irrigation system provides an excellent opportunity to enhance your skills while benefiting the environment. By harnessing technology to manage one of nature’s most essential resources, you take a step towards a more sustainable lifestyle. So grab your tools and start exploring the possibilities—your garden will thank you for it!
Project 6: Voice-Controlled Appliances
Imagine commanding your coffee maker to start brewing with just your voice or turning off all the lights without lifting a finger. With Arduino, transforming everyday appliances into voice-responsive devices is not only feasible but also surprisingly straightforward. By leveraging the power of Arduino and integrating it with voice platforms like Amazon Alexa or Google Assistant, you can create a seamless smart home environment that caters to your convenience and comfort. This project unlocks endless possibilities for automating tasks and enhancing your daily routines.
To embark on this journey, you will need an Arduino board, a relay module, and a Wi-Fi module such as the ESP8266 to enable communication with your chosen voice platform. Begin by selecting an appliance you wish to control, such as a lamp for smart lighting solutions. Connect the relay module to the Arduino board and the appliance’s power source, allowing the Arduino to control the flow of electricity. Next, configure the Wi-Fi module to connect to your home network and set up a skill or action within your voice assistant app. This setup enables the voice assistant to send commands to your Arduino, which in turn operates the appliance.
Ensuring compatibility across various appliances is crucial for a successful implementation. Most basic electronic devices can be adapted for voice control with Arduino, provided they have a simple on/off switch mechanism. For more complex appliances, additional considerations may be necessary, such as ensuring the device can safely operate when left unattended. It’s essential to test each setup thoroughly to avoid potential safety hazards. When done correctly, integrating voice-controlled appliances into your home not only offers modern convenience but also enhances energy efficiency by allowing you to monitor and manage usage more effectively.
By taking these steps, you transform your living space into a truly smart home environment where technology works in harmony with your lifestyle. The satisfaction of witnessing a device respond to your command is both rewarding and motivating, encouraging you to explore further DIY projects. With each new addition, your skills will grow, along with your appreciation for the versatility and potential of Arduino in crafting personalized smart home solutions.
Embrace the Future of Home Automation with Arduino
Arduino home automation projects offer a world of possibilities for transforming your living space into a smart, efficient, and personalized environment. By embarking on these DIY endeavors, you can enjoy the benefits of energy efficiency, enhanced security, and convenient control over your home systems. Each project serves as a stepping stone, allowing you to gradually build your skills and confidence in using Arduino technology.
Starting small is key. Begin with a simple project, like smart lighting control, and gradually expand your repertoire as you gain experience. This approach not only helps you master Arduino programming but also enables you to tailor each project to suit your unique needs and preferences. With patience and creativity, you can craft a customized smart home experience that enhances your daily life and reflects your personal style. Embrace the journey of exploration and innovation, and watch as your home transforms before your eyes.