
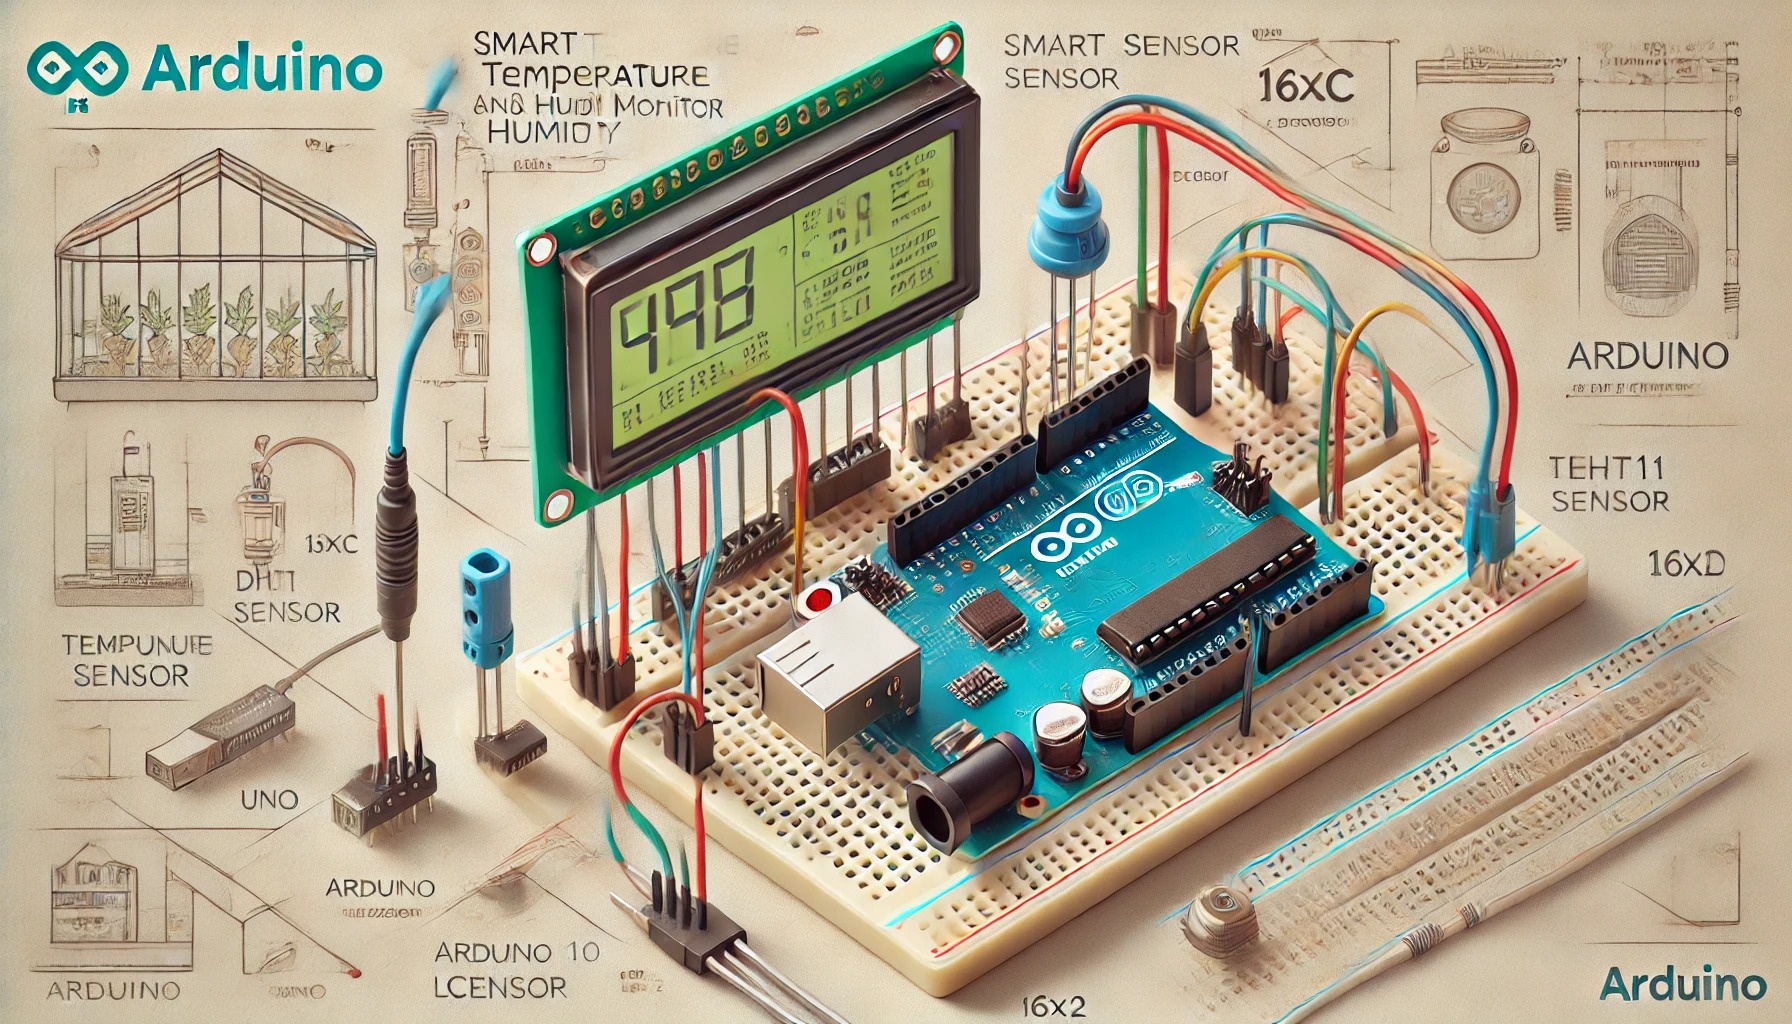

Smart Temperature and Humidity Monitor with LCD Display
Introduction
This project will guide you through creating a Smart Temperature and Humidity Monitor using an Arduino Uno, a DHT11 sensor, and a 16×2 LCD display. The system will read the temperature and humidity from the DHT11 sensor and display the data on the LCD in real time.
Real-World Applications
- Weather Stations: Used to monitor environmental conditions.
- Home Automation: Helps regulate indoor temperature and humidity.
- Agriculture: Useful in greenhouse monitoring.
- Medical Applications: Ensures optimal room conditions for patients and medical storage.
Learning Objectives
By completing this project, you will learn:
✅ How to interface a DHT11 sensor with an Arduino.
✅ How to use an LCD (Liquid Crystal Display) with Arduino.
✅ How to program an Arduino to read and display sensor data.
✅ How to troubleshoot common sensor and display issues.
Tools and Components
| Component | Description |
|---|---|
| Arduino Uno | The microcontroller board used for processing data. |
| DHT11 Sensor | Measures temperature and humidity. |
| 16×2 LCD Display | Displays temperature and humidity readings. |
| I2C Module for LCD | Reduces wiring complexity (optional but recommended). |
| Potentiometer (10kΩ) | Adjusts LCD contrast (if not using an I2C module). |
| Resistors (4.7kΩ or 10kΩ) | Required for the DHT11 sensor’s pull-up resistor. |
| Breadboard & Jumper Wires | For easy wiring connections. |
Background and Definitions
1. Arduino Uno
An open-source microcontroller board based on the ATmega328P. It has digital I/O pins, analog inputs, and multiple communication protocols (SPI, I2C, UART).
2. DHT11 Sensor
A temperature and humidity sensor that provides digital output. It consists of a capacitive humidity sensor and a thermistor.
3. 16×2 LCD Display
A display that can show 16 characters per row on two rows. It communicates with Arduino via parallel (4-bit or 8-bit mode) or I2C.
4. I2C Protocol
I2C (Inter-Integrated Circuit) is a two-wire communication protocol that allows multiple devices to communicate using only SDA (data line) and SCL (clock line).
Circuit Diagram and Wiring
Connections for DHT11:
| DHT11 Pin | Connection |
|---|---|
| VCC | 5V (Arduino) |
| Data | Digital Pin 2 (Arduino) |
| GND | GND (Arduino) |
| Resistor | 4.7kΩ pull-up between VCC and Data Pin |
Connections for LCD (with I2C Module):
| LCD Pin | Connection |
|---|---|
| VCC | 5V (Arduino) |
| GND | GND (Arduino) |
| SDA | A4 (Arduino) |
| SCL | A5 (Arduino) |
Step-by-Step Guide
Step 1: Install Required Libraries
You need the following libraries:
- DHT Sensor Library (
DHT.h) - LiquidCrystal_I2C Library (for I2C LCD)
To install:
- Open Arduino IDE → Go to Sketch → Include Library → Manage Libraries
- Search for DHT sensor library by Adafruit and install it.
- Search for LiquidCrystal_I2C and install it.
Step 2: Write the Arduino Code
cppCopyEdit#include <Wire.h>               // Library for I2C communication
#include <LiquidCrystal_I2C.h>  // Library for LCD I2C
#include <DHT.h>                // Library for DHT sensor

#define DHTPIN 2       // DHT11 data pin connected to Arduino digital pin 2
#define DHTTYPE DHT11  // Defining sensor type as DHT11

DHT dht(DHTPIN, DHTTYPE);
LiquidCrystal_I2C lcd(0x27, 16, 2); // I2C address 0x27, 16 columns and 2 rows

void setup() {
    lcd.begin();          // Initialize the LCD
    lcd.backlight();      // Turn on backlight
    dht.begin();          // Initialize the DHT sensor
}

void loop() {
    float temperature = dht.readTemperature(); // Read temperature
    float humidity = dht.readHumidity();       // Read humidity

    lcd.clear();
    lcd.setCursor(0, 0);
    lcd.print("Temp: ");
    lcd.print(temperature);
    lcd.print(" C");

    lcd.setCursor(0, 1);
    lcd.print("Humidity: ");
    lcd.print(humidity);
    lcd.print(" %");

    delay(2000); // Wait 2 seconds before updating
}
Step 3: Upload and Test the Code
- Connect your Arduino to the PC via USB.
- Open Arduino IDE and select the correct Board (Arduino Uno) and Port.
- Upload the code and open the Serial Monitor (9600 baud rate) to check sensor readings.
- Observe the LCD screen displaying the temperature and humidity values.
Testing and Debugging Tips
✅ If the LCD doesn’t display text, check:
- The I2C address (use an I2C scanner sketch to find the correct address).
- Connections to SDA (A4) and SCL (A5).
✅ If the DHT11 sensor shows NaN values:
- Check the wiring (Data pin to Digital Pin 2).
- Ensure the 4.7kΩ pull-up resistor is connected.
- Use delay(2000) in the loop to allow sensor stabilization.
Extensions and Modifications
🚀 Enhance the Project:
- Add a Buzzer that beeps when the temperature exceeds a threshold.
- Send data to an IoT Cloud (e.g., Thingspeak) for remote monitoring.
- Display temperature in Fahrenheit as well.
- Use an OLED display for a more modern interface.
Final Thoughts
This project is a great introduction to sensor integration and LCD interfacing with Arduino. It is practical, extendable, and provides valuable hands-on experience with real-world applications. 🚀