
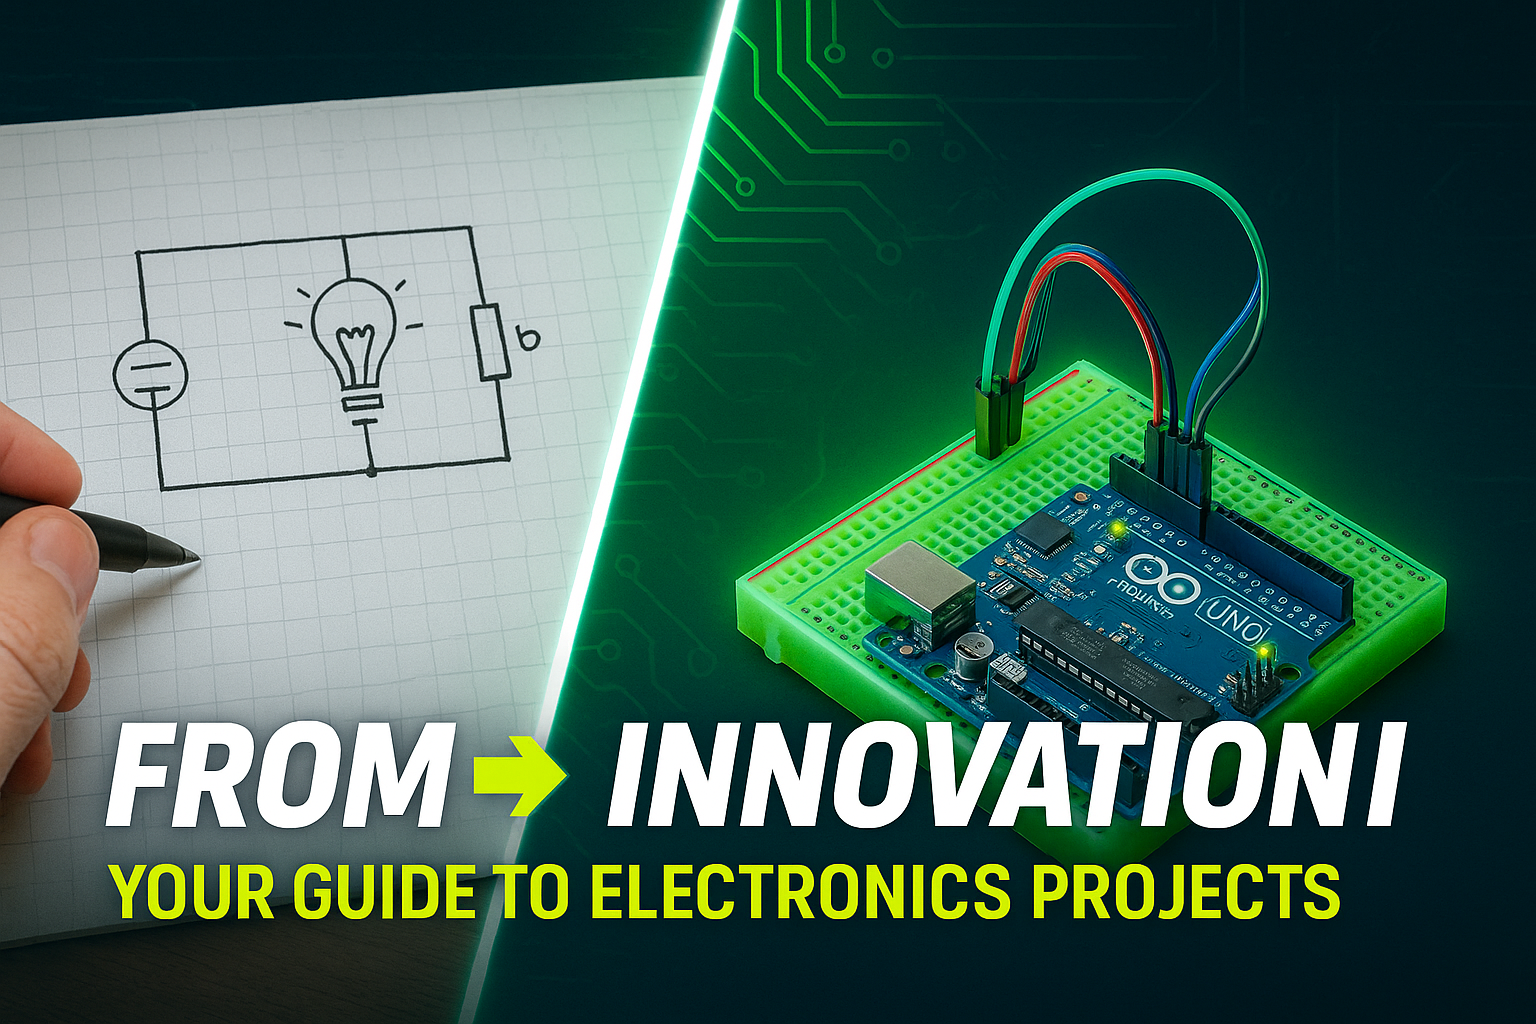

In the ever-evolving world of electronics, the journey from a simple idea to a groundbreaking innovation is both thrilling and challenging. Whether you’re a seasoned engineer or a curious hobbyist, transforming your vision into reality requires a clear roadmap. This guide will walk you through every essential step of the process, ensuring that your electronics projects are not only successful but also rewarding.
Understanding the entire project planning process is crucial. It helps you navigate potential pitfalls and enhances your problem-solving skills. By grasping each phase—from conceptualization to execution—you empower yourself to tackle complex challenges with confidence. So, if you’re ready to turn that spark of inspiration into a tangible creation, keep reading. We’ll explore strategies, techniques, and insights that will elevate your electronics projects from mere concepts to innovative solutions.
Understanding Your Concept
Before diving headfirst into the world of electronics projects, it’s crucial to start with a clear understanding of the problem your project aims to solve. Take the time to define this problem precisely. For example, if you’re interested in creating a smart irrigation system, consider questions like: What specific issues are gardeners facing? Is it water wastage, or perhaps inconsistent soil moisture levels? Defining your project’s scope will not only guide your design but will also keep you focused and motivated as you work through the complexities of your project.
Once you have a well-defined problem, conducting preliminary research is essential. This step involves gathering information about existing solutions, relevant technologies, and market needs. Look into similar projects and their outcomes; for instance, if your goal is to develop an energy-efficient lighting system, explore current innovations in LED technology and smart sensors. This research will not only inform your design choices but may also inspire new ideas and features that you hadn’t initially considered.
With a solid understanding of the problem and background research in hand, it’s time to unleash your creativity through brainstorming. Gather your thoughts on potential solutions and features that could enhance your project. Use mind maps or lists to visualize your ideas. If you’re designing a wearable health monitor, think about integrating features like heart rate tracking, sleep analysis, or even hydration reminders. Collaborating with fellow electronics enthusiasts can also spark new ideas, as they might offer insights or perspectives that you hadn’t thought of before. This collaborative approach can lead to innovative prototyping techniques that enhance your project’s functionality and user experience.
By clearly defining the problem, conducting thorough research, and brainstorming innovative solutions, you’ll be well-equipped to embark on the next stages of your electronics project with confidence and clarity. Understanding your concept lays the foundation for a successful journey from idea to innovation, setting the stage for thoughtful planning and effective execution down the line.
Planning Your Project
Once you’ve gained a solid understanding of your concept, the next crucial step is planning your project. A detailed project outline serves as a roadmap, guiding you through each phase of development. Start by breaking down your idea into smaller, manageable tasks. For example, if you’re building a smart plant watering system, outline tasks like researching moisture sensors, selecting a microcontroller, and designing the circuit. Assign a timeline to each task; this not only helps keep you on track but also allows you to anticipate potential delays.
Identifying necessary tools, materials, and resources is another essential aspect of your planning phase. Make a comprehensive list of everything you’ll need, from basic components like resistors and capacitors to more advanced tools like oscilloscopes or 3D printers for custom parts. If you’re on a budget, consider alternatives such as using Arduino boards instead of more expensive microcontrollers or sourcing components from local electronic shops or online marketplaces. By knowing what resources you need ahead of time, you can minimize interruptions during the build phase and maintain momentum.
As you plan, it’s crucial to set realistic goals and milestones to monitor your progress effectively. Milestones could include completing your prototype by a specific date or successfully integrating components in a particular sequence. Celebrating these small victories can provide motivation and help you stay focused. Moreover, documenting any challenges faced along the way—including troubleshooting tips—can be invaluable for future projects or for sharing with others in the electronics community. Remember, planning isn’t just about logistics; it’s about creating a clear vision that keeps your creativity and enthusiasm alive throughout the project journey.
Prototyping Techniques
Building a prototype is a crucial step in the journey from idea to innovation in electronics projects. A prototype allows you to test and validate your ideas before committing to final designs, helping you identify potential issues early on. By creating a physical representation of your concept, you can explore functionality, assess user experience, and gather valuable feedback. This iterative process not only enhances the reliability of your project but also fuels creativity, as you discover what works and what doesn’t along the way.
There are several effective prototyping methods to choose from, each offering unique advantages. Breadboards are one of the most popular choices for electronics enthusiasts. They allow for quick assembly and reconfiguration of circuits without soldering, making it easy to experiment with different components and layouts. For more complex electronics projects, simulation software can be invaluable. Programs like LTspice or Tinkercad enable you to model your circuit digitally, testing various scenarios without any physical limitations. Additionally, 3D printing has become a game-changer for prototyping enclosures and structural components. This technique allows you to create custom parts that fit your design specifications perfectly, enhancing both functionality and aesthetics.
Once your initial prototype is complete, it’s essential to refine it based on testing results. Start by observing how the prototype performs under real conditions—note any inconsistencies or unexpected behaviors. Gather input from peers or mentors who can offer fresh perspectives on your project. Use this feedback to make adjustments, whether that means tweaking component placement on a breadboard or modifying your 3D printed parts for better fit or durability. Remember that prototyping is an iterative process; each version should bring you closer to your desired outcome. Embrace the learning curve, and don’t hesitate to pivot if necessary—some of the best innovations stem from unexpected discoveries made during prototyping!
Sourcing Components
When embarking on any electronics project, sourcing the right components is crucial to turning your ideas into reality. Whether you are a seasoned engineer or a beginner tackling your first electronics project, finding reliable suppliers can make all the difference in both the quality of your build and your overall experience. Online marketplaces such as Digi-Key, Mouser, and SparkFun offer vast selections of electronic parts, but local electronics stores can also provide valuable resources and immediate support for those who prefer hands-on shopping. It’s important to check reviews and ratings for suppliers to ensure you’re getting authentic parts that meet your project’s specifications.
Understanding the specifications and compatibility of components is another key aspect of sourcing. Each electronic part comes with a datasheet that details its operational parameters, pin configurations, and electrical characteristics. For example, if you are working on a beginner electronics project involving an LED circuit, knowing the forward voltage and current rating of the LED will help you choose the appropriate resistor to prevent damage. Additionally, ensuring that components like microcontrollers and sensors are compatible can save you from unnecessary headaches later on in the assembly process.
Cost management is essential, especially for budget-conscious projects. As you dive into sourcing components, it’s wise to create a budget and stick to it. Consider bulk purchasing options for commonly used components; many suppliers offer discounts for larger orders. Additionally, take advantage of online forums and communities where fellow hobbyists often share tips about where to find deals or even offer surplus parts at lower prices. Websites like eBay or AliExpress can also be treasure troves for affordable components, but always do your due diligence to verify the seller’s credibility.
Finally, don’t hesitate to reach out to your network—whether it’s local maker spaces, online forums, or social media groups—where you can find recommendations for suppliers or even trade components with others. Networking with other electronics enthusiasts not only opens up avenues for sourcing parts but also fosters collaboration and knowledge sharing that can enhance your overall project experience. By being resourceful and proactive in sourcing components, you set yourself up for success as you bring your innovative electronics projects to life.
Building Your Project
Once you’ve sourced all the necessary components for your electronics project, it’s time to dive into the assembly phase. This step can be both exhilarating and challenging, depending on the complexity of your design. To start, carefully follow your project outline. Break down the assembly into manageable stages, ensuring you have a clear understanding of how each component fits together. Whether you’re constructing a simple LED circuit or embarking on advanced electronics like a microcontroller-based robot, having a systematic approach will help prevent errors and confusion.
When it comes to soldering and wiring your components, best practices are essential. Start by organizing your workspace—having a clutter-free area will help you focus better. Use a soldering iron with a fine tip for precision, and ensure that your solder is of good quality; lead-free solder is often recommended for safety reasons. Remember to heat both the component lead and the pad on the PCB (printed circuit board) simultaneously when soldering, then apply solder to the joint rather than directly to the iron. This technique ensures a solid connection and minimizes the risk of cold solder joints, which can lead to unreliable circuits.
Safety should always be a priority during the construction of electronics projects. Wear safety goggles to protect your eyes from any accidental splashes of solder, and consider using a soldering mat to avoid burns or damage to your work surface. Ventilation is also crucial; solder fumes can be harmful, so work in a well-ventilated area or use a fume extractor if possible. Additionally, keep your tools organized and within reach to prevent accidents, and make sure to handle all electronic components with care to avoid static damage. By following these steps and maintaining a focus on safety, you’ll not only create a successful project but also enjoy the process of bringing your innovative ideas to life.
Troubleshooting Common Issues
Even the most meticulously planned DIY electronics projects can encounter hiccups along the way. Identifying and diagnosing common problems is a crucial skill for any maker. For instance, if your circuit isn’t powering up, the first step is to check the power supply and connections. Loose wires, incorrect polarity, or even a dead battery can be culprits. Tools like a multimeter can help in tracing issues, allowing you to measure voltage and continuity at various points in your circuit. By systematically checking each component and connection, you can often pinpoint the problem area before delving deeper into more complex diagnostics.

Effective troubleshooting also involves adopting a methodical approach to problem-solving. One useful technique is to break down your project into smaller sections and test each part independently. This could mean isolating the microcontroller from the sensors or testing individual components like resistors or capacitors separately. For example, if your LED isn’t lighting up, instead of assuming there’s a fault with the entire circuit, test the LED on its own. If it lights up, you know the issue lies elsewhere in your design, which narrows down your search significantly.
Learning from mistakes is an integral part of the DIY electronics journey. Every misstep offers valuable insights that can lead to improved designs in future projects. For instance, if a component overheats during testing, consider whether it was rated correctly for your application or if it was incorrectly wired. Keeping a project journal can be an excellent way to document these lessons learned, helping you avoid repeating the same errors and refining your design process over time. Embracing a mindset of iteration means recognizing that each failure is simply a stepping stone toward successful innovation.
Ultimately, troubleshooting is not just about fixing what’s broken; it’s about enhancing your skills as an electronics enthusiast. The challenges you face provide opportunities for growth and creativity. As you work through each issue, you’re not only solving immediate problems but also building a robust foundation for future projects. With patience and persistence, you’ll find that overcoming obstacles becomes an essential and rewarding aspect of your DIY electronics experience.
Showcasing Complex Projects
As you venture deeper into the world of electronics projects, the excitement often lies in tackling complex designs that push your skills to new heights. One notable example is the development of a home automation system using Arduino and various sensors. This project not only involves intricate circuit design but also requires a solid understanding of programming and network communication. The challenge here is integrating multiple components—like motion sensors, temperature controls, and smart lighting—into a cohesive system that can be easily controlled via a smartphone app. The lessons learned from this project revolve around the importance of modular design, allowing for easier troubleshooting and upgrades.
Another inspiring project is the creation of a wearable health monitor. This advanced electronics project combines various sensors to track vital signs like heart rate, body temperature, and even blood oxygen levels. The complexity arises in ensuring accurate data collection while maintaining user comfort and device reliability. One significant challenge encountered was the need for efficient power management; developers often had to optimize the circuit design to extend battery life without sacrificing performance. This experience emphasizes the critical balance between functionality and user experience in electronics projects.
Engaging with these complex projects not only enhances technical skills but also fosters creativity and innovation. It’s crucial to remember that each challenge faced during the development process can lead to unique solutions and insights. For instance, experimenting with different sensor placements or circuit configurations can yield surprising results that significantly enhance the final product. As you immerse yourself in advanced electronics projects, don’t shy away from thinking outside the box; some of the most groundbreaking innovations come from those who dare to explore unconventional ideas.
Ultimately, showcasing your complex projects serves as an inspiration to others within the electronics community. By sharing your experiences—both triumphs and setbacks—you contribute to a collaborative environment where enthusiasts can learn from one another. Whether through online forums, local maker spaces, or social media platforms, engaging with fellow creators will not only enrich your own journey but also inspire a new wave of innovation in electronics project development.
Sharing Your Work
Documenting your electronics projects is not just a matter of keeping a personal record; it serves as a valuable resource for others and yourself. By meticulously recording each step of your process—from initial brainstorming to final assembly—you create a guide that can help fellow enthusiasts troubleshoot similar issues or inspire them to embark on their own projects. This documentation can take many forms, including detailed written accounts, schematics, photographs, and videos that showcase your work in action. For instance, if you’ve built a custom LED display using various electronic components, sharing the entire journey—from the challenges you faced while soldering the intricate circuit board to the final glowing result—can provide insights and encouragement to aspiring makers.
Once you’ve documented your process, it’s time to share your projects with the community. There are numerous platforms available, each catering to different aspects of electronics and maker culture. Websites like Instructables and Hackster.io allow you to publish step-by-step guides that showcase your projects and connect with a vast audience of enthusiasts. Social media platforms like Instagram and TikTok have also become popular for sharing quick updates and engaging visuals of ongoing projects. These platforms not only help you reach a wider audience but also facilitate immediate feedback, which can be invaluable for refining your future endeavors.
Engaging with other electronics enthusiasts is a crucial part of the sharing process. Online forums and communities such as Reddit’s r/AskElectronics or specialized Discord servers provide spaces where you can ask questions, seek advice, and share insights about your projects. Collaboration can lead to new ideas and innovative solutions that you may not have considered on your own. For example, if you’re struggling with integrating multiple electronic components into a single device, discussing your challenges with others can spark creative solutions or alternative approaches that enhance your project.
In conclusion, sharing your work is an integral part of the electronics journey that fosters growth and innovation within the community. By documenting your processes and engaging with fellow enthusiasts, you contribute to a collaborative environment where knowledge flows freely and creativity thrives. So don’t hesitate—put your work out there, connect with others, and watch as your ideas evolve through shared experiences and collective wisdom.
Bringing Your Ideas to Life
In conclusion, transforming your concept into a tangible electronics project involves several key steps. From understanding your idea and planning meticulously to prototyping and building, each phase is crucial for success. Don’t forget the importance of troubleshooting and sharing your work with the community. Every project is an opportunity to learn and grow.
We encourage you to keep exploring new ideas and experimenting with electronics projects. Each creation not only hones your skills but also brings immense satisfaction. Remember, there’s nothing quite as rewarding as building something from scratch and watching it come to life. So, grab your tools and start innovating!