
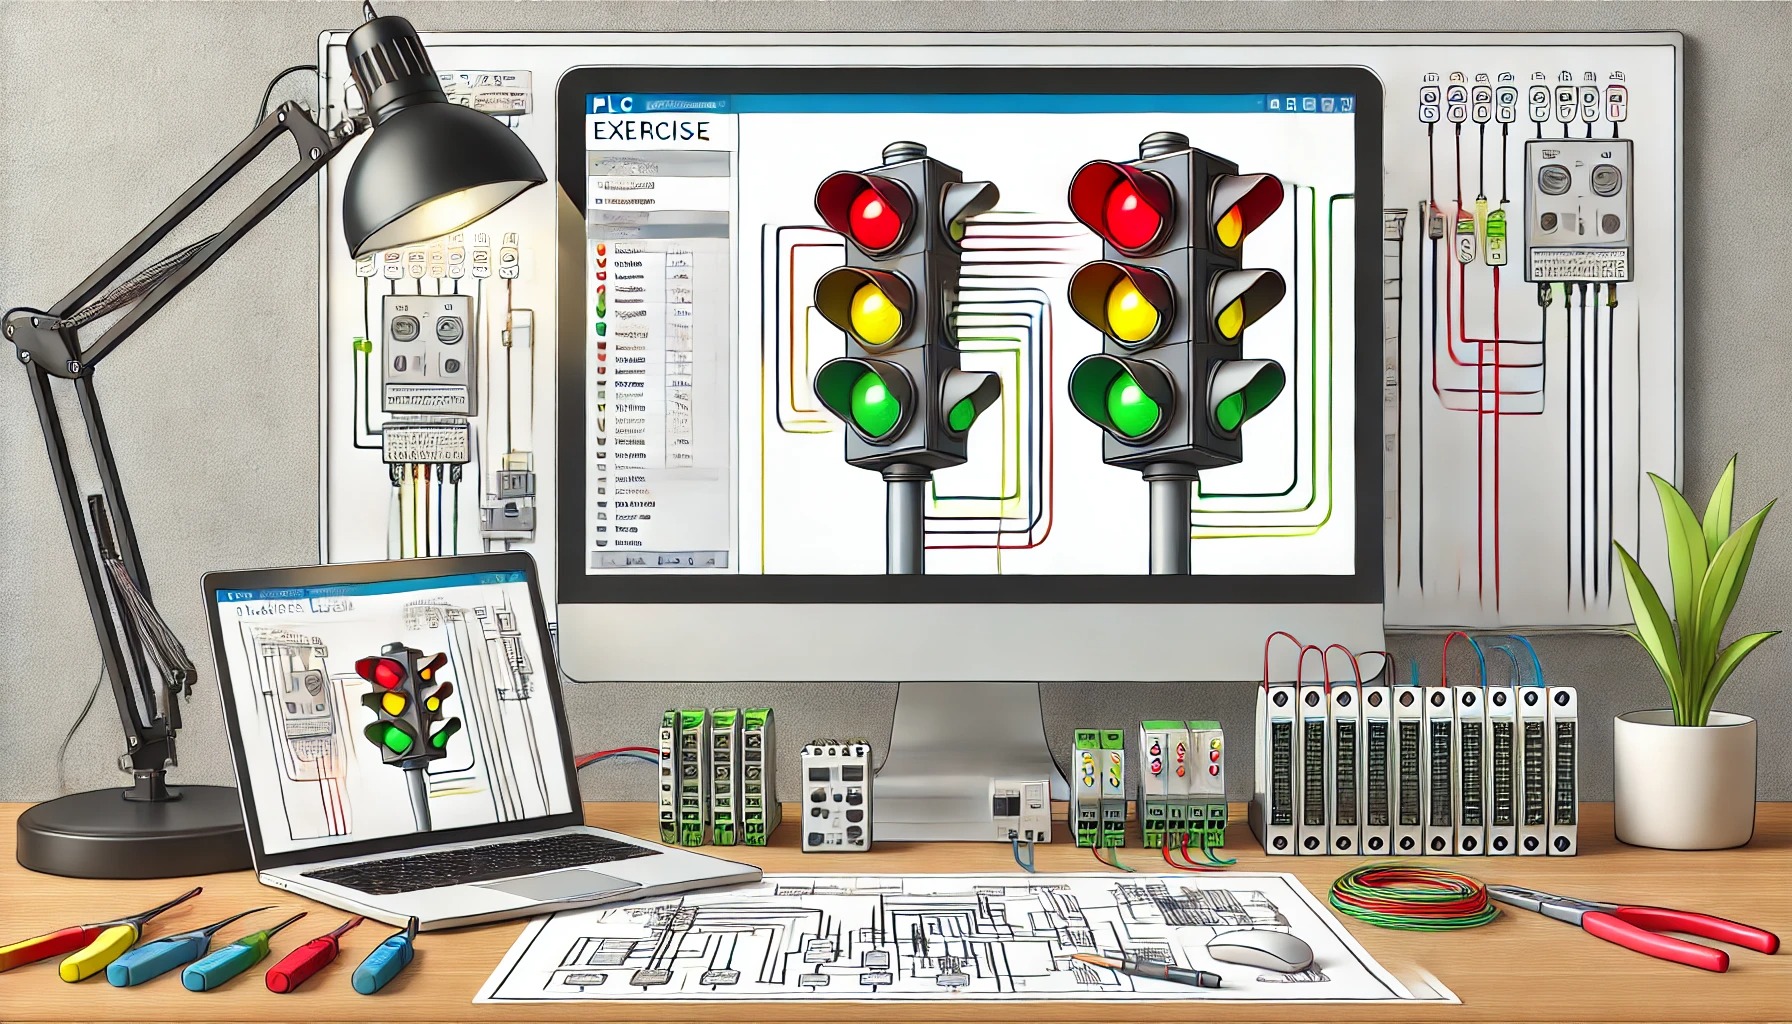

📘 How to Present New PLC Exercises
1. Start with a Catchy Introduction
- Begin with an engaging overview that highlights the importance of PLCs in industrial automation and how the exercises will enhance learners’ skills.
- Use friendly, motivating language to create excitement. For example:
- “This week, we’re diving into hands-on PLC exercises that will sharpen your automation skills and take you one step closer to mastering industrial control systems!”
2. Organize the Exercises with Clear Structure
a. Provide Descriptive Titles
- Make each exercise title specific and action-oriented.
- Example: “Exercise 1: Programming a Conveyor Belt System Using Ladder Logic.”
b. Use Step-by-Step Instructions
- Break the task into manageable steps. Include clear guidance on:
- Objectives: What the learner should achieve.
- Tools: Specify required software, hardware (e.g., PLC models, programming software like TIA Portal, RSLogix).
- Inputs/Outputs: Explain the I/O configuration.
c. Highlight Key Skills
- Specify what skills the learner will develop (e.g., Ladder Logic programming, troubleshooting, I/O mapping).
3. Add Visual Aids
- Diagrams and Flowcharts: Include ladder diagrams, flowcharts, or wiring schematics.
- Screenshots: Show software interfaces for clarity.
- Use short video clips or GIFs (if possible) to demonstrate steps.
4. Cater to Different Skill Levels
- Label exercises by difficulty: Beginner, Intermediate, Advanced.
- Beginner: Basic tasks like understanding I/O modules or creating simple logic.
- Intermediate: Combining multiple inputs/outputs, adding timers and counters.
- Advanced: Complex systems like traffic light control or batching systems.
5. Include a “Challenge Yourself” Section 🚀
- Add optional tasks or variations for learners who want to push their limits.
- “Modify the program to include emergency stop functionality.”
6. Provide Real-World Context 🌍
- Relate the exercise to practical applications in industries (e.g., manufacturing, food processing).
- “This exercise simulates controlling a bottle-filling station, commonly used in the beverage industry.”
7. Share Potential Challenges and Tips
- List common pitfalls and troubleshooting tips for learners.
- “Tip: Ensure that the I/O addresses in your ladder diagram match the configuration in the PLC software.”
8. Test and Share Results
- Encourage learners to:
- Run simulations or test on real PLC hardware.
- Share screenshots or videos of their working solutions in forums or communities.
9. Provide Supporting Resources 📚
- Include links or recommendations for:
- Tutorials (e.g., “How to Use Timers in Ladder Logic”).
- Manuals (e.g., PLC programming guides).
- Reference sheets (e.g., common ladder logic symbols).
10. End with Motivation and Feedback Request
- Close with a positive message to keep learners motivated:
- “Great job completing these exercises! Don’t forget to share your progress and ask questions in our community forum. Keep learning and building amazing automation systems!”
Formatting Tips
- Use bullet points, headings, and emojis to make the content visually appealing.
- Include a summary table or checklist for each exercise:
- Objective | Tools | Expected Outcome
- For example:vbnetCopy code
Objective: Program a motor to run for 10 seconds after a button is pressed. Tools: Siemens S7-1200, TIA Portal. Outcome: Motor stops automatically after 10 seconds.
Example Presentation for an Exercise
🛠️ Exercise 2: Programming a Traffic Light System
- Objective: Program a PLC to control a traffic light with red, yellow, and green lights.
- Tools Needed:
- PLC: Allen-Bradley MicroLogix 1100.
- Software: RSLogix 500.
- Steps:
- Configure I/O for red, yellow, and green lights.
- Write a ladder logic program for light sequences (e.g., green → yellow → red).
- Add timers to manage the durations of each light.
- Expected Outcome: Lights operate in a sequential loop.
- Challenge: Add a pedestrian crossing signal with a button input.
- Tip: Double-check your timer values to ensure smooth transitions.