
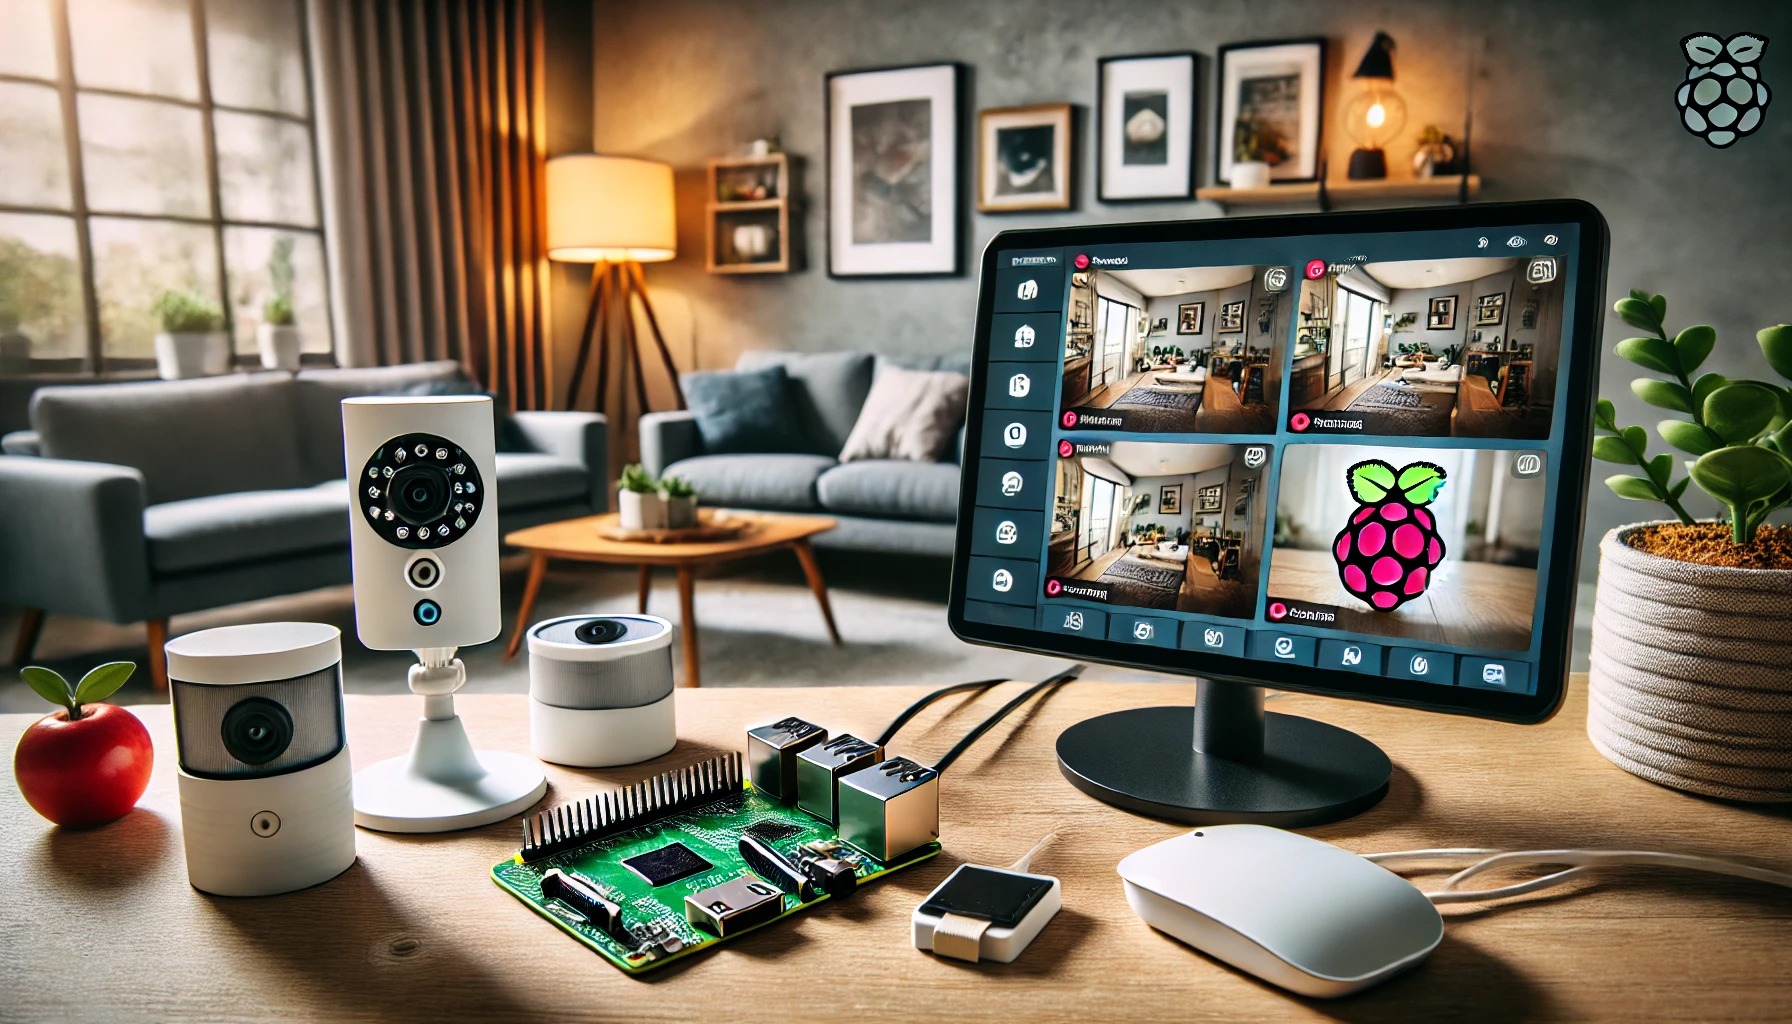

Staying Secure in Style: Designing a Smart Security System with Raspberry Pi
Introduction
With the increasing need for home security, a DIY approach using Raspberry Pi can provide a cost-effective and customizable solution. This guide will walk through the essential components, setup process, and additional enhancements for creating an efficient smart security system using Raspberry Pi.
1. Why Use Raspberry Pi for Home Security?
Raspberry Pi is a powerful yet compact device that can function as the central hub of a security system. It is affordable, flexible, and supports various sensors, cameras, and networking options. Additionally, it has extensive community support, making troubleshooting and system upgrades easier.
2. Essential Hardware Components
To set up a Raspberry Pi-powered security system, the following hardware is needed:
- Raspberry Pi Board (Pi 4 recommended) – A model with at least 2GB RAM is preferable for smooth operation.
- Camera Modules – Standard Raspberry Pi Camera Modules or USB webcams can be used to monitor areas of interest.
- Motion and Door Sensors – PIR motion sensors and door/window sensors help detect movement and automate alerts.
- Storage – A 32GB microSD card is the minimum requirement, but external storage may be necessary for long-term video recordings.
- Power Supply – A reliable power adapter is needed to ensure uninterrupted operation.
- Networking – A wired Ethernet or Wi-Fi connection enables remote access to the system.
3. Software and Setup Process
Step 1: Install and Configure the Operating System
- Download and install Raspberry Pi OS (Lite or Desktop) on the microSD card.
- Run updates to ensure all system packages are current.
Step 2: Enable Camera and Set Up Surveillance Software
- Activate the camera module via the
raspi-configtool. - Install and configure software such as motionEyeOS or ZoneMinder for real-time video monitoring and motion detection.
Step 3: Set Up Motion Detection and Alerts
- Use PIR motion sensors and link them to the Raspberry Pi’s GPIO pins.
- Configure scripts or automation tools to send alerts via email or push notifications using services like IFTTT or Home Assistant.
Step 4: Enable Remote Access
- Set up SSH and VNC for remote administration.
- Configure a VPN or use secure methods like port forwarding with strong authentication for safe external access.
4. Additional Enhancements for Customization
To improve security functionality, consider these optional enhancements:
- Cloud Integration – Back up footage to cloud storage for additional security.
- AI-Powered Recognition – Implement OpenCV and TensorFlow Lite for facial and object recognition.
- Night Vision Capabilities – Use infrared camera modules or LED lighting for low-light monitoring.
- Voice Assistant Control – Integrate with Google Assistant or Alexa for hands-free system management.
5. Security Best Practices
To maintain the integrity of the security system, follow these best practices:
- Use Strong Authentication – Enable SSH keys and set secure passwords for all system components.
- Keep Software Updated – Regularly update Raspberry Pi OS and installed security applications.
- Encrypt Remote Connections – Use SSL/TLS encryption or a VPN when accessing the system remotely.
- Ensure Physical Protection – Place the Raspberry Pi in a secure location and use weatherproof enclosures if deploying cameras outdoors.
Conclusion
A Raspberry Pi-based home security system offers an efficient and flexible way to monitor and protect a property. With the right hardware, software configuration, and security enhancements, it can be tailored to meet specific needs while remaining cost-effective. By following this guide, users can create a reliable security solution that integrates seamlessly with their home automation setup.